Tago.IO
Tago.IO combines advanced device management, services, data storage, visualization, and analytics with an easy to implement cloud-based IoT platform.
You can sign up for a free account at https://tago.io.
To get started, log in to your Tago.IO account and click Devices from the menu on the left:

Generate a new Authorization Token by entering any name on the Token name field and click the Generate token button.

Now we simply copy the Authorization Token by clicking on the Copy icon:

At this point, we move back over to the Helium Console to complete the Integration.
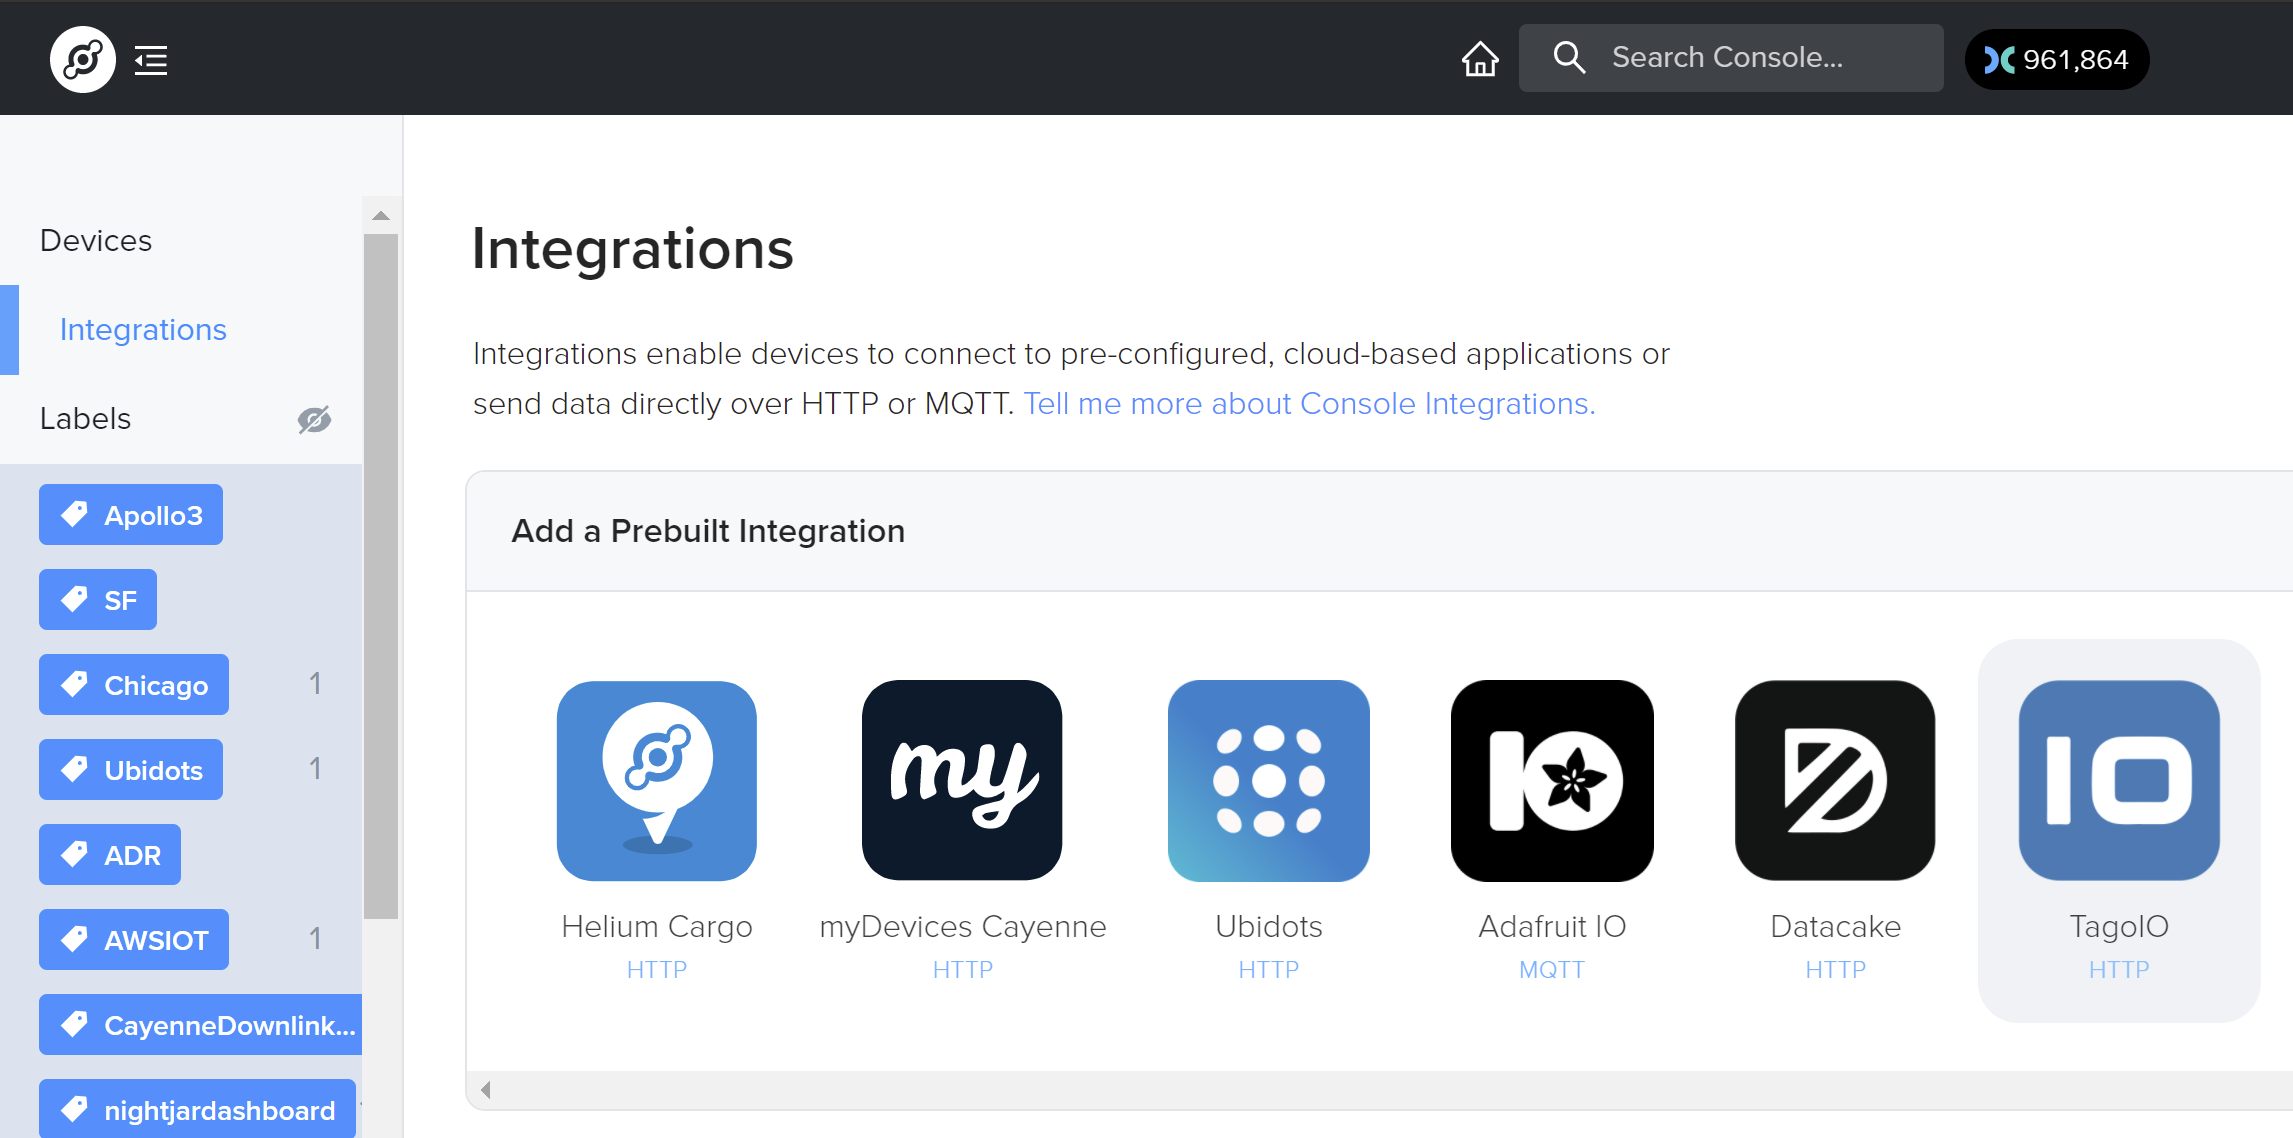
Click on Integrations on the menu on the left and select the Tago.IO Prebuilt Integration:
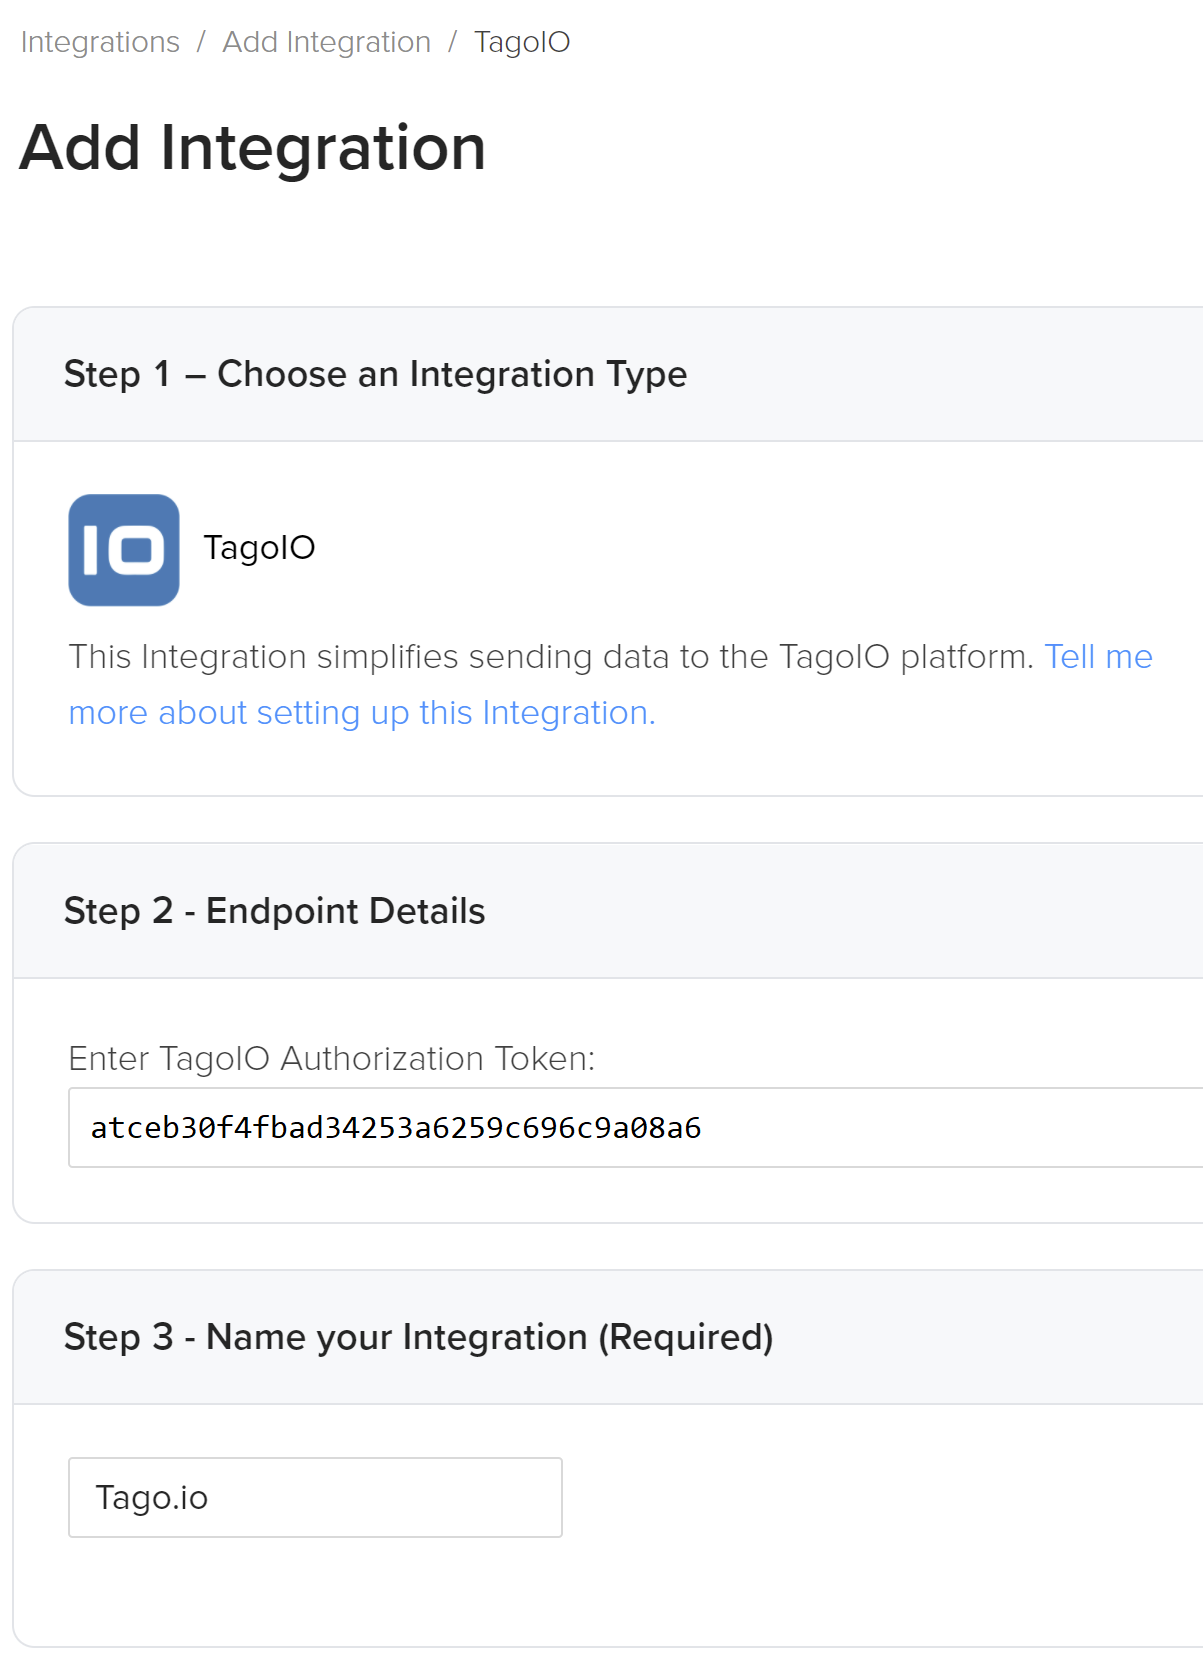
Paste the Tago.IO Authorization Token that we copied from the Tago.IO site above and enter a name for our Integration:
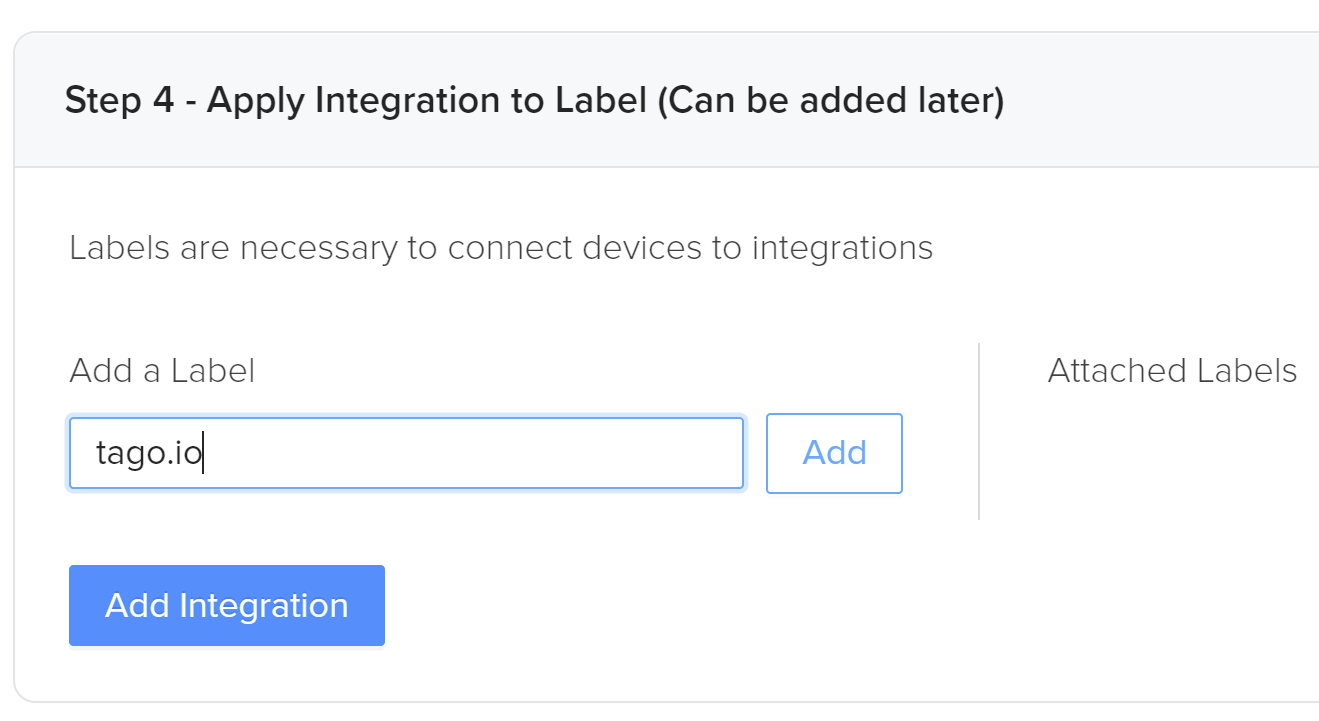
Then we add a new label to our Integration to allow us to bind it to devices:
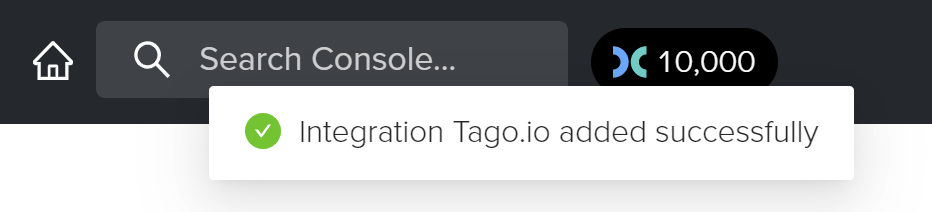
You should now see a verification message that the Integration was created successfully:
Connecting Integrations to Devices
Devices are connected to integrations through the use of Labels. Labels are named identifiers that can be used to associate an integration with a device. To connect one or more devices to one or more integrations, simply attach the same label to both the device and integration. Labels need to be created before attaching them to devices and integrations. Read more on this here.