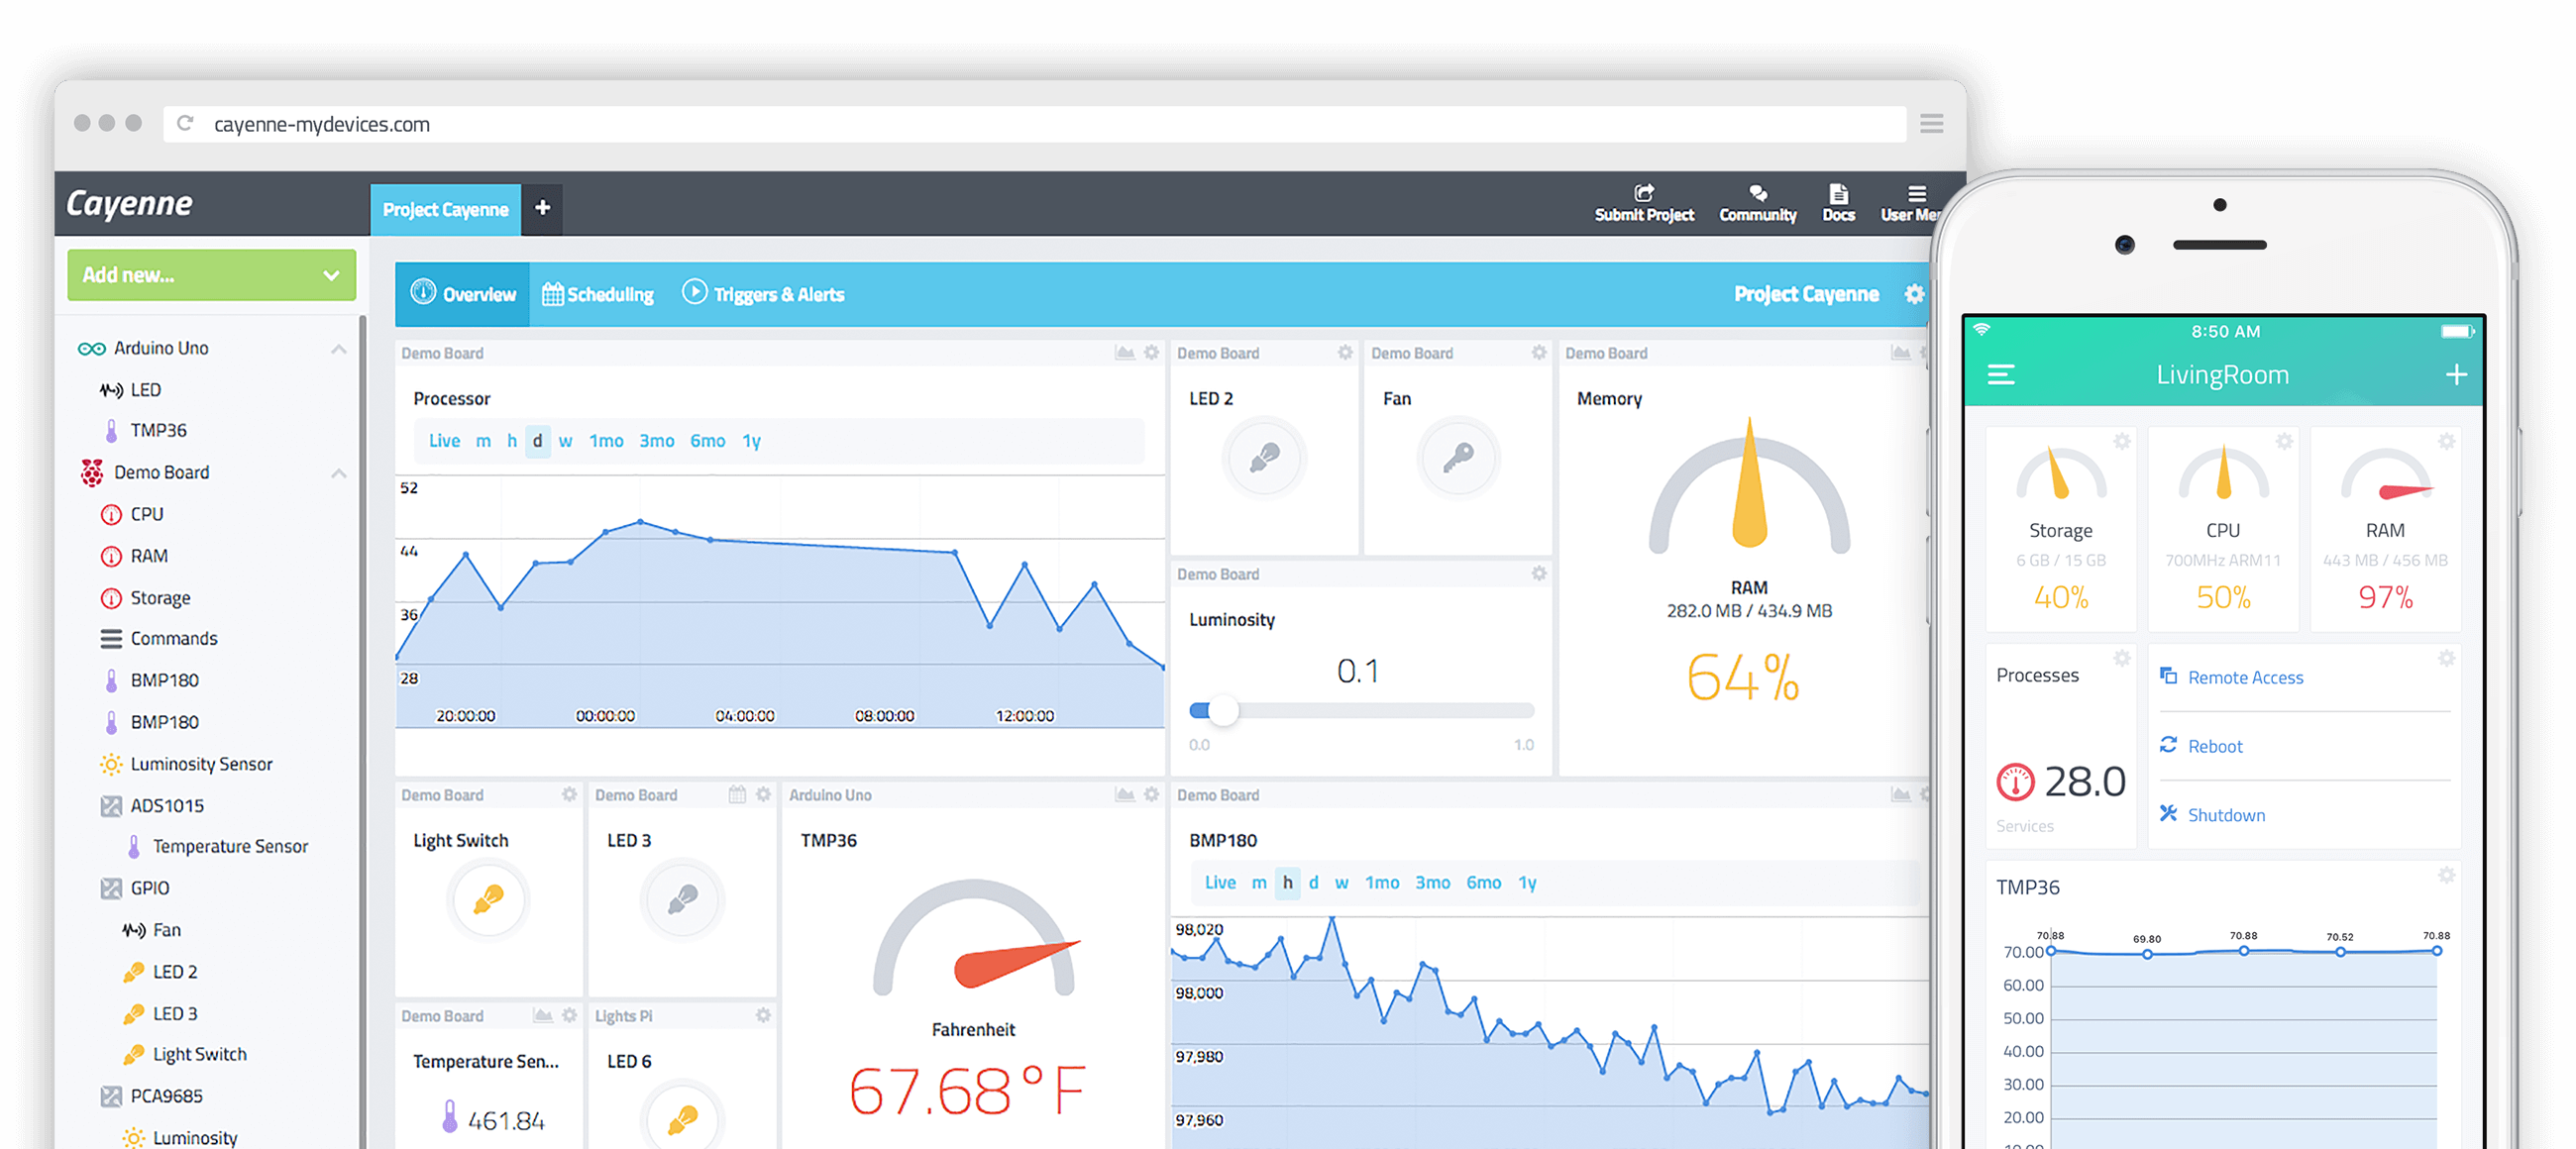
MyDevices Cayenne
Cayenne from myDevices, is a free, drag and drop IoT project builder, that empowers developers, designers and engineers to quickly prototype and share their connected device projects. Cayenne was designed to help users create Internet of Things prototypes and then bring them to production. It supports hundreds of devices, including everything from popular development boards to professional grade remote sensors. Cayenne offers both a web and mobile based application.
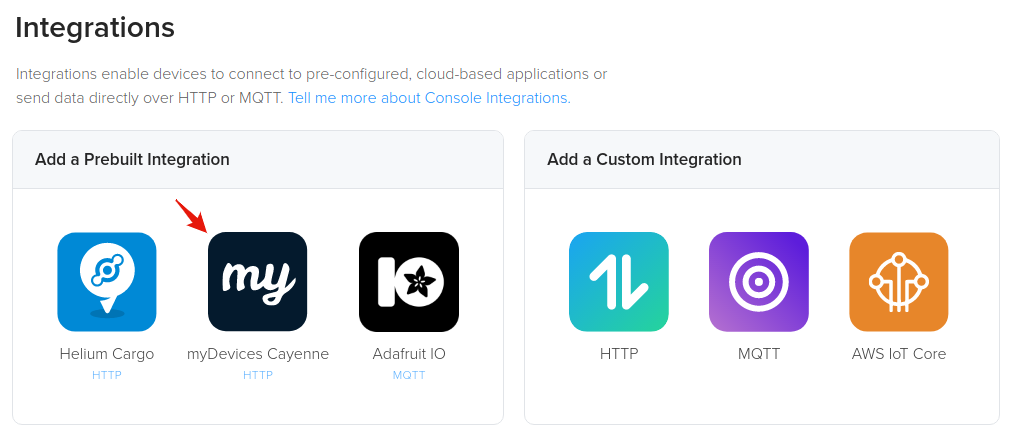
Add a myDevices Cayenne Integration
To add a myDevices Cayenne Integration, go to Integrations on the left-hand menu. Select the integration to add, in this case, the myDevices Cayenne integration:
The next step is to name the integration
Last, apply any optional Labels. For more information on Labels please visit the Labels guide.
Connecting Integrations to Devices
info
Downlink Not Yet Supported
The MyDevices integration currently only supports uplinks. Downlinks are in the
process of being implemented and will be available soon.
Devices are connected to integrations through the use of Labels. Labels are named identifiers, that can be used to associate an integration with a device. To connect one or more devices to one or more integrations, simply attach the same label to both the device and integration. Labels need to be created before attaching them to devices and integrations. Read more on this here.
Adding Your Device on myDevices Cayenne
Before adding your device to Cayenne, be sure you've successfully added it to the Helium network as well as attached it to a label that is also attached to the Cayenne integration, if you haven't done so yet, then see how to here. Once you have a device added on Console and you have verified that packets are being received, you can then proceed to add the device on Cayenne.
First, signup for Cayenne here, if you have not already.
From the Cayenne dashboard, click Add New > Device / Widget.

From the list of devices & widgets that appears, click LoRa and select the Helium Network option to view a list of Helium supported devices.
warning
Ensure you have selected the Helium Network
You must select the Helium Network before searching for your device, else you may add your device on the wrong network and will not receive data.
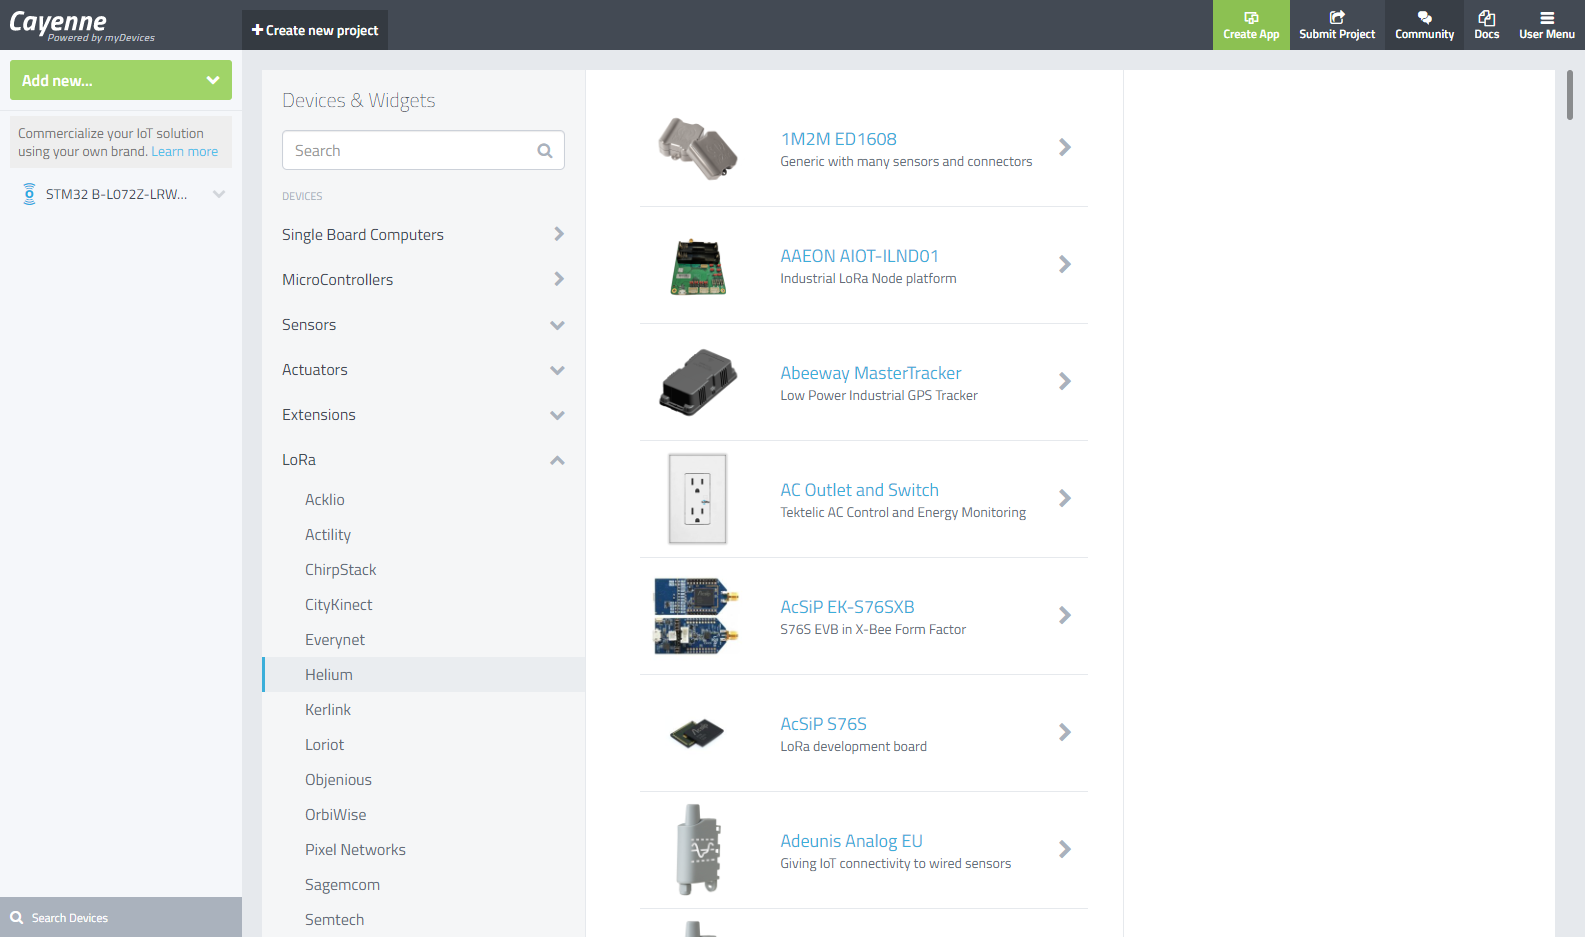
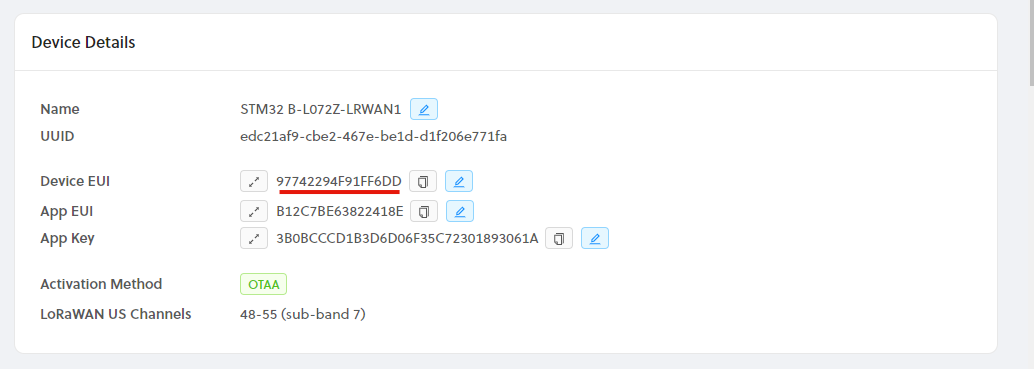
Here we've selected the popular STM32 B-L072Z-LRWAN1 LoRaWAN development board.
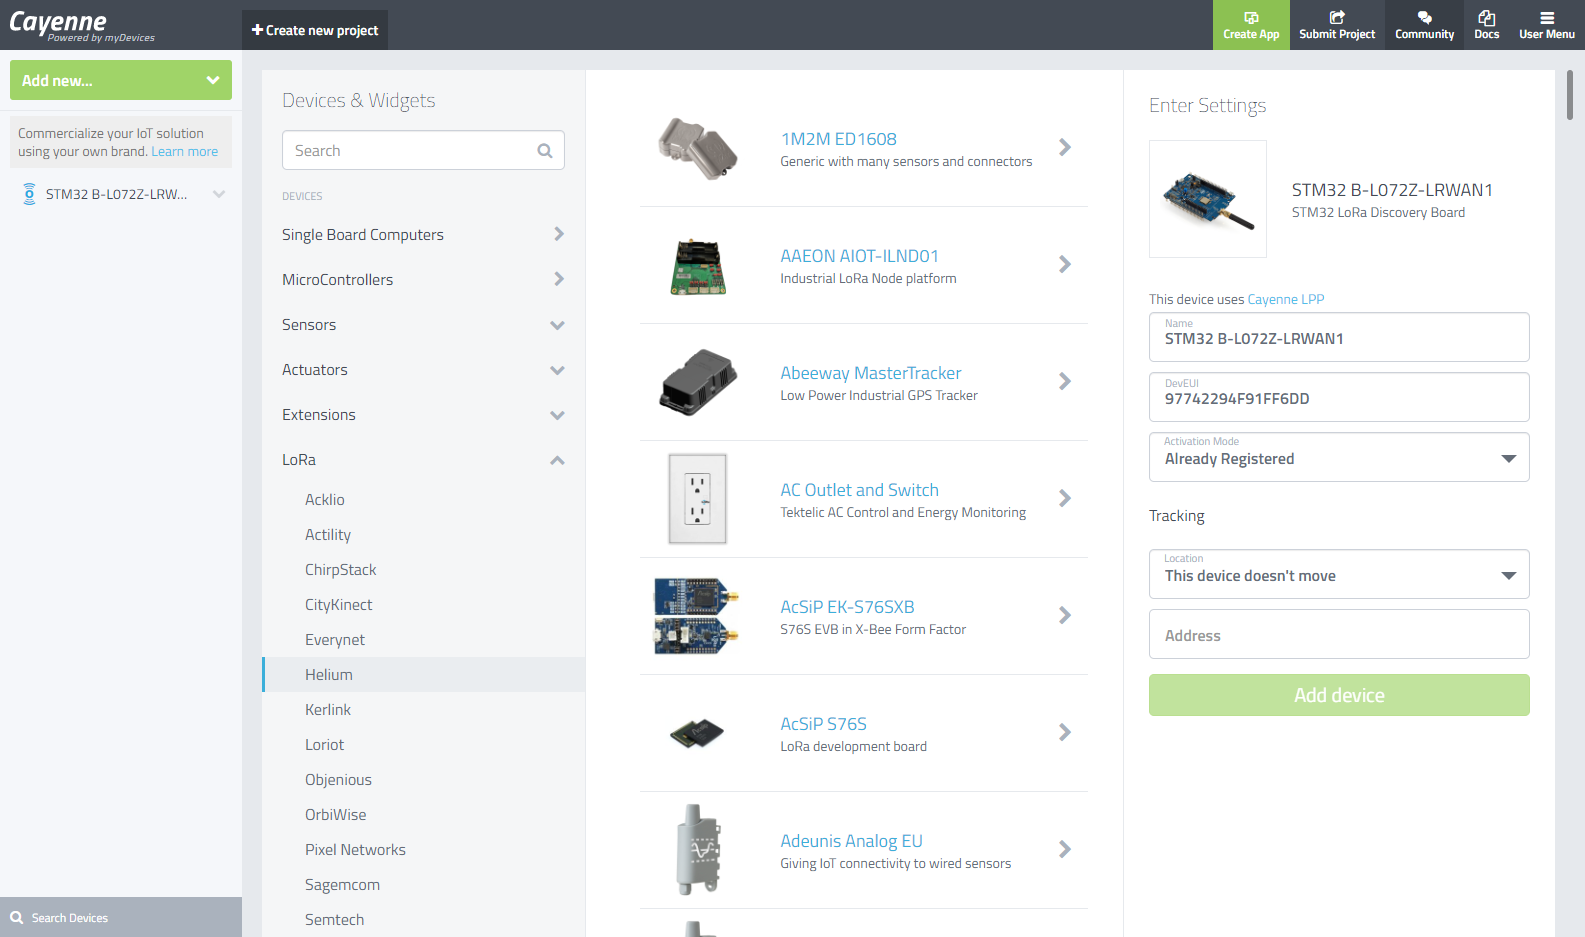
The only information you'll need once you've selected your device is to enter the DevEUI, which is found on your device details page on Console, shown below.
Downlinks
Your device first needs to report an Actuator, either Digital or Analog one. You can check LPP doc here https://developers.mydevices.com/cayenne/docs/lora/#lora-cayenne-low-power-payload-overview
Once the device starts reporting DigitalActuator or AnalogActuator, you will automatically get a button or a slider on Cayenne UI. Using that new control will then trigger downlink commands.
Please note that both Actuators types inherit from AnalogSensor DataType, e.g. using 2-byte integers with 0.01 precision. This means a Digital Actuator set to HIGH from the UI will trigger a Downlink with the value = 0x0064 = 100.
Device Data Payload Format
When adding your device on Cayenne, you'll need to pay close attention to whether or not the device requires the Cayenne Low Power Payload (CayenneLPP). If your device is in the list of supported devices, it will specify whether or not it requires CayenneLPP directly above the name field when you've selected the device, and shown in the Cayenne dashboard image above. If you do not see the line 'This device uses Cayenne LPP', then it is automatically supported by Cayenne. You can find the official documentation on CayenneLPP here, as well as a popular Arduino library here. If you have a custom device or it is not in the list of supported devices, then select the STM32 B-L072Z-LRWAN1 board as a placeholder, and be sure to use CayenneLPP formatting in your firmware.